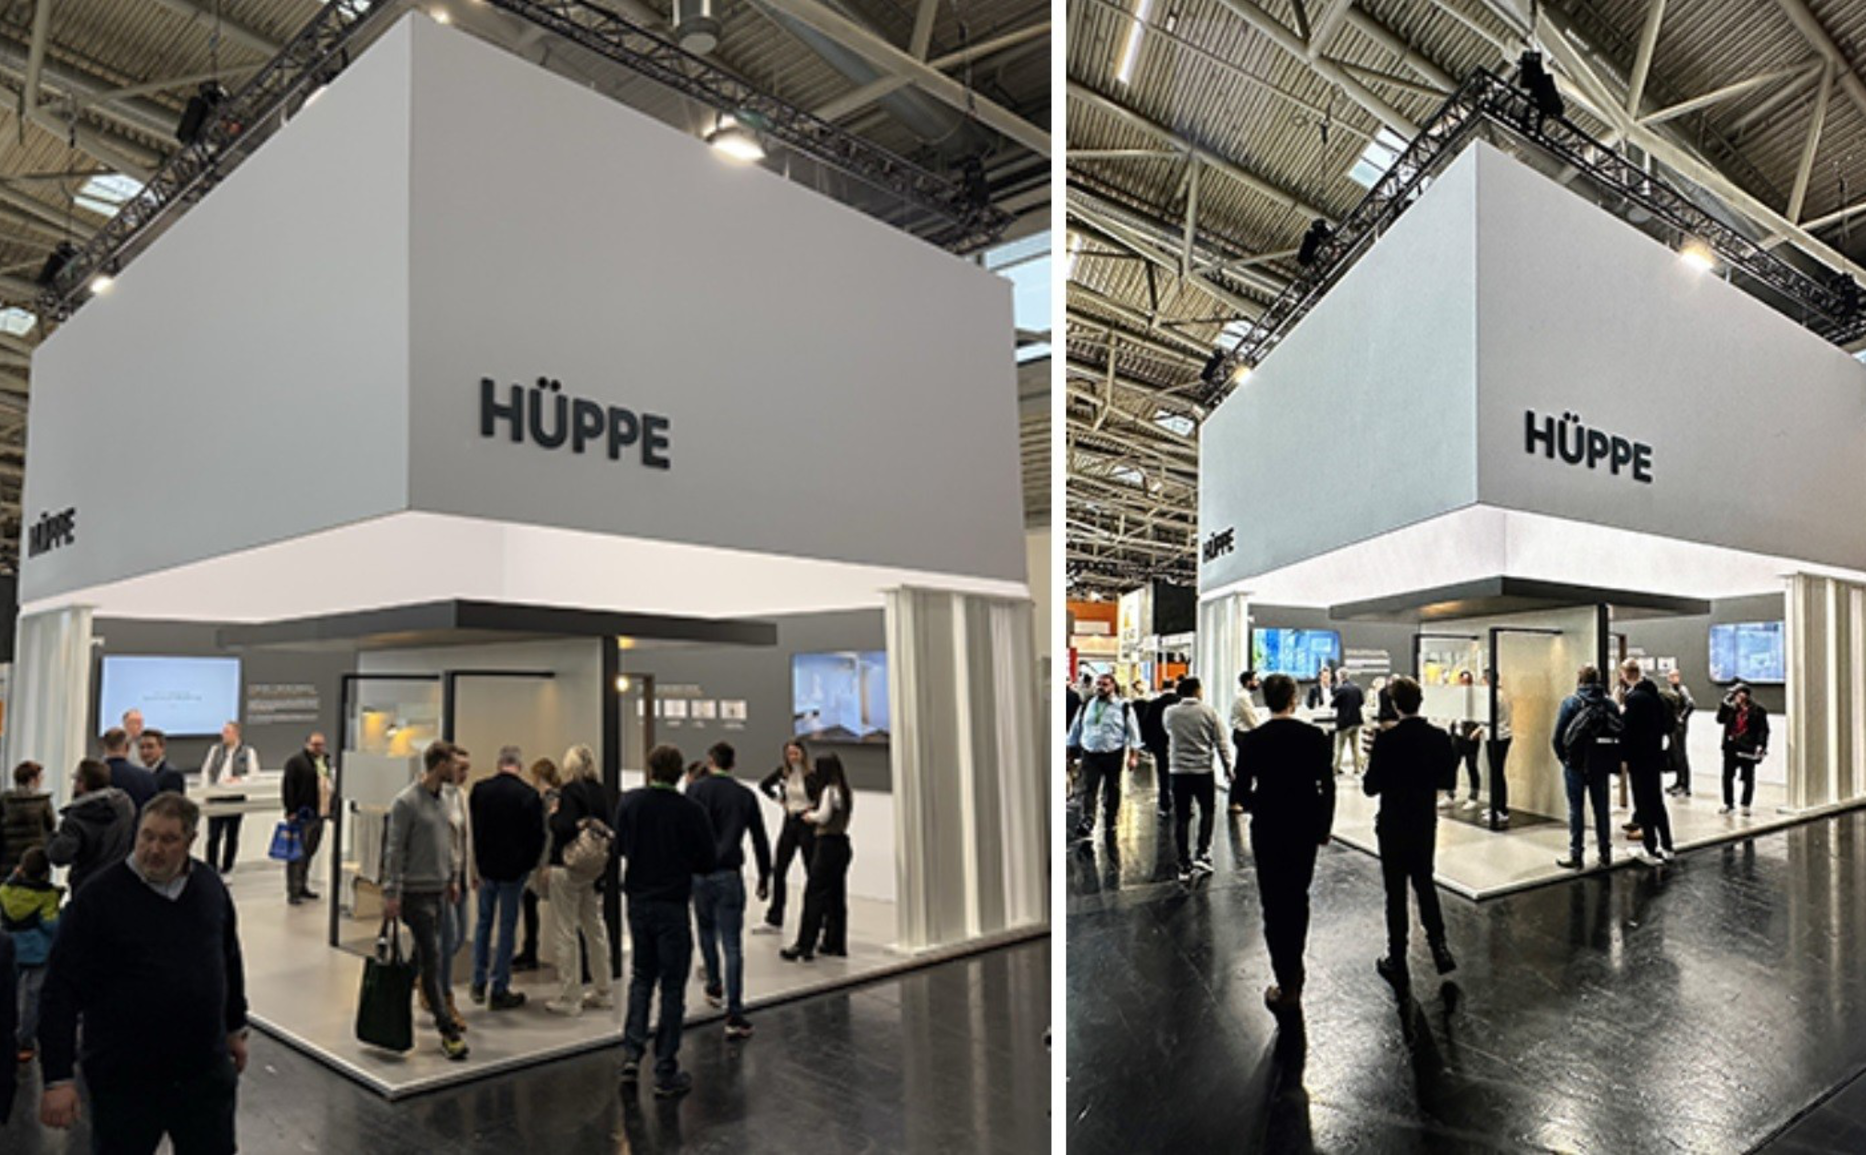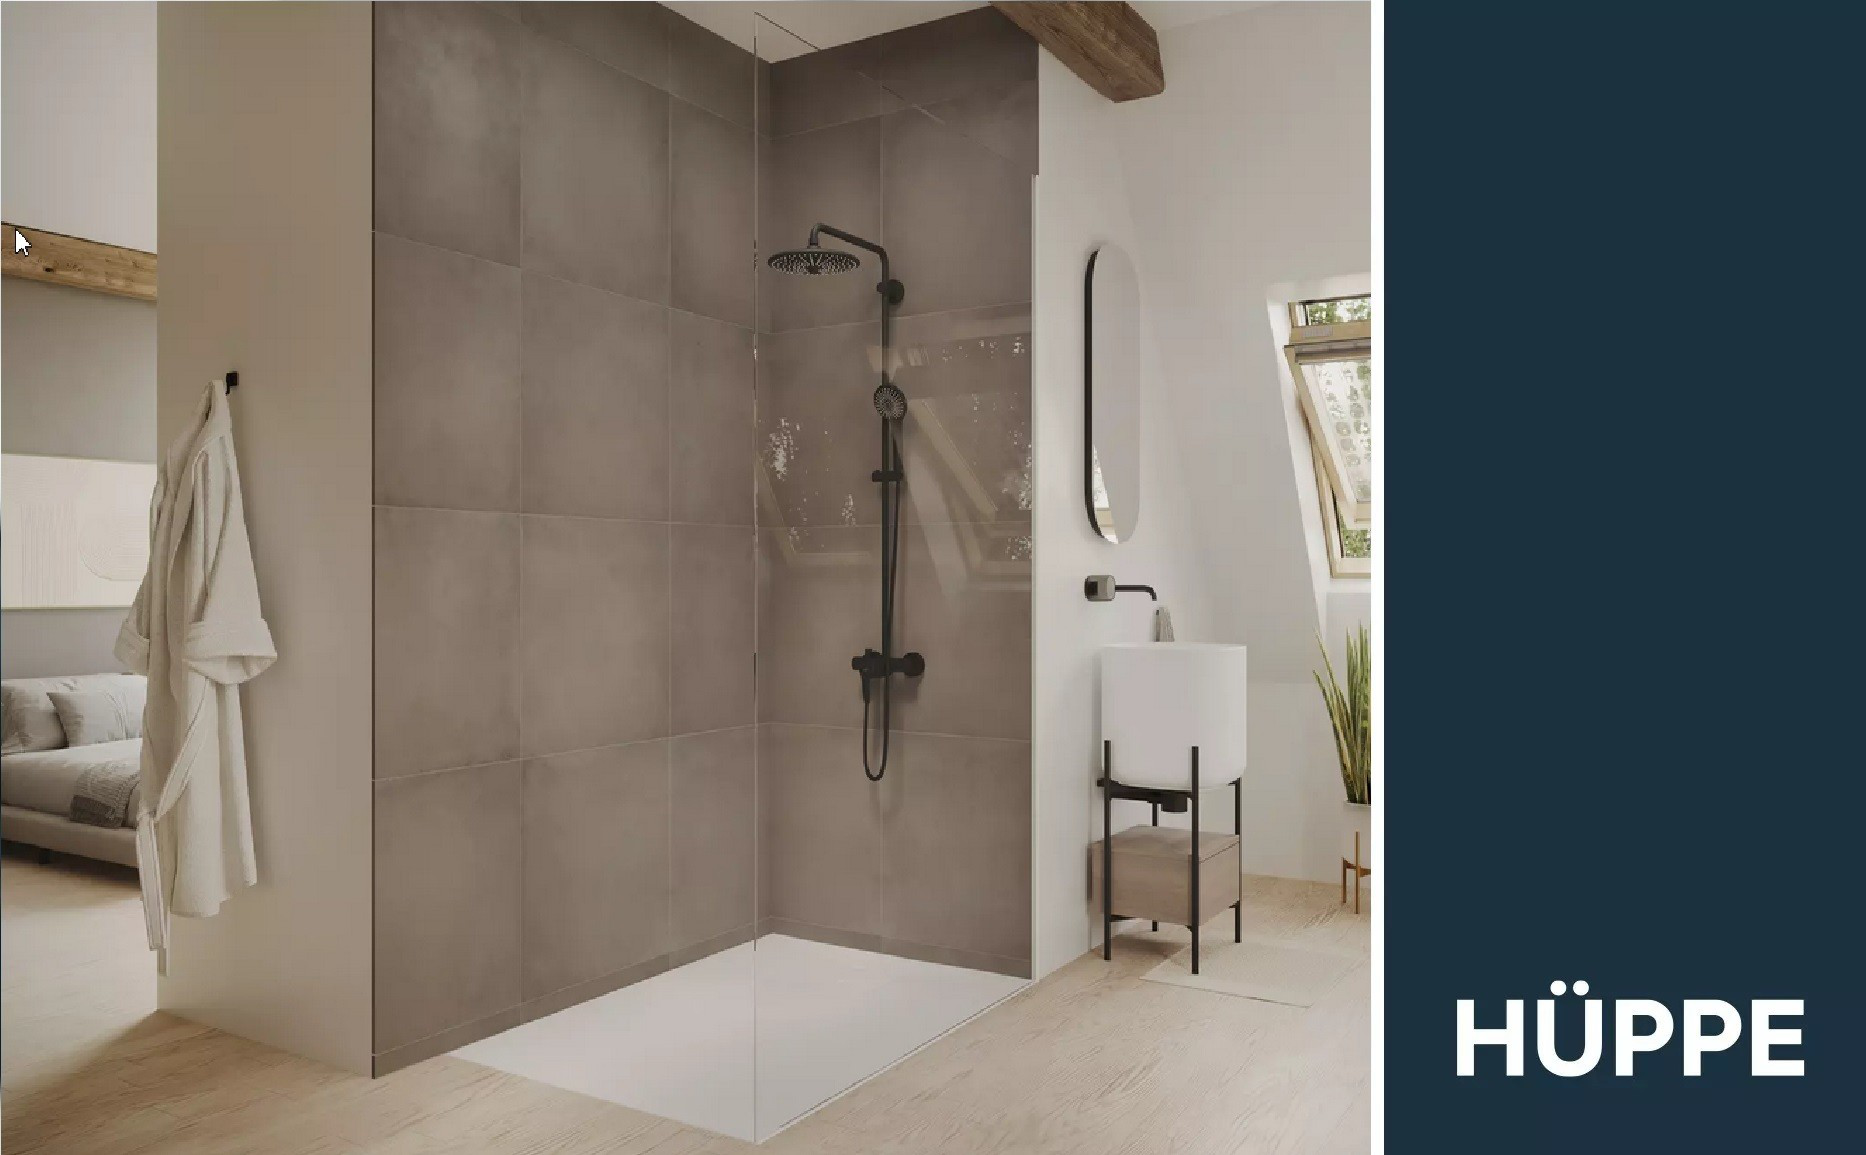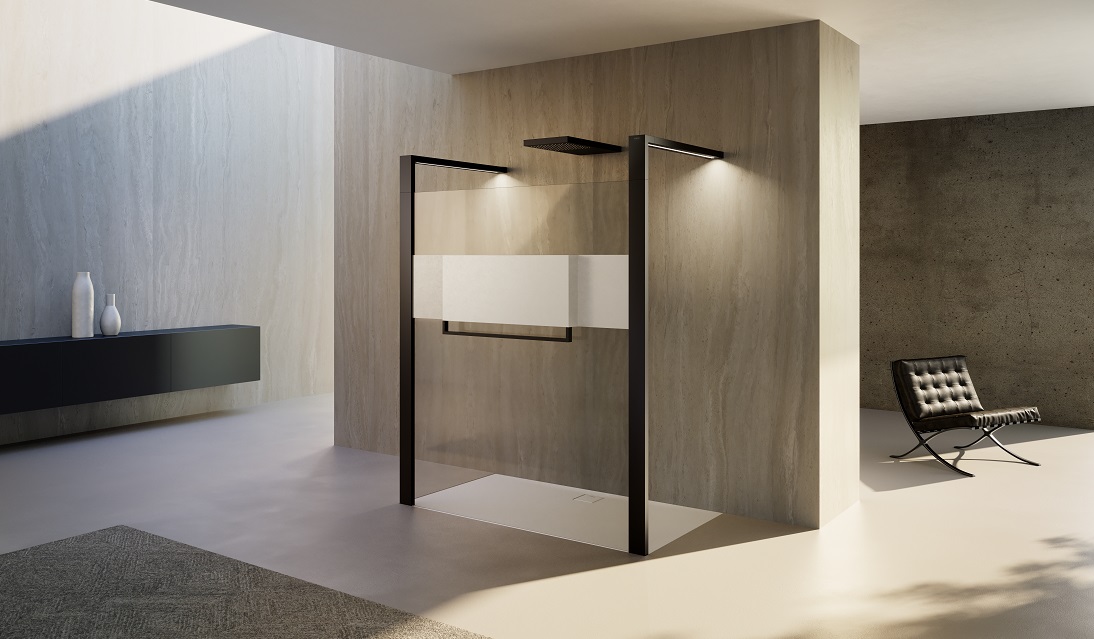

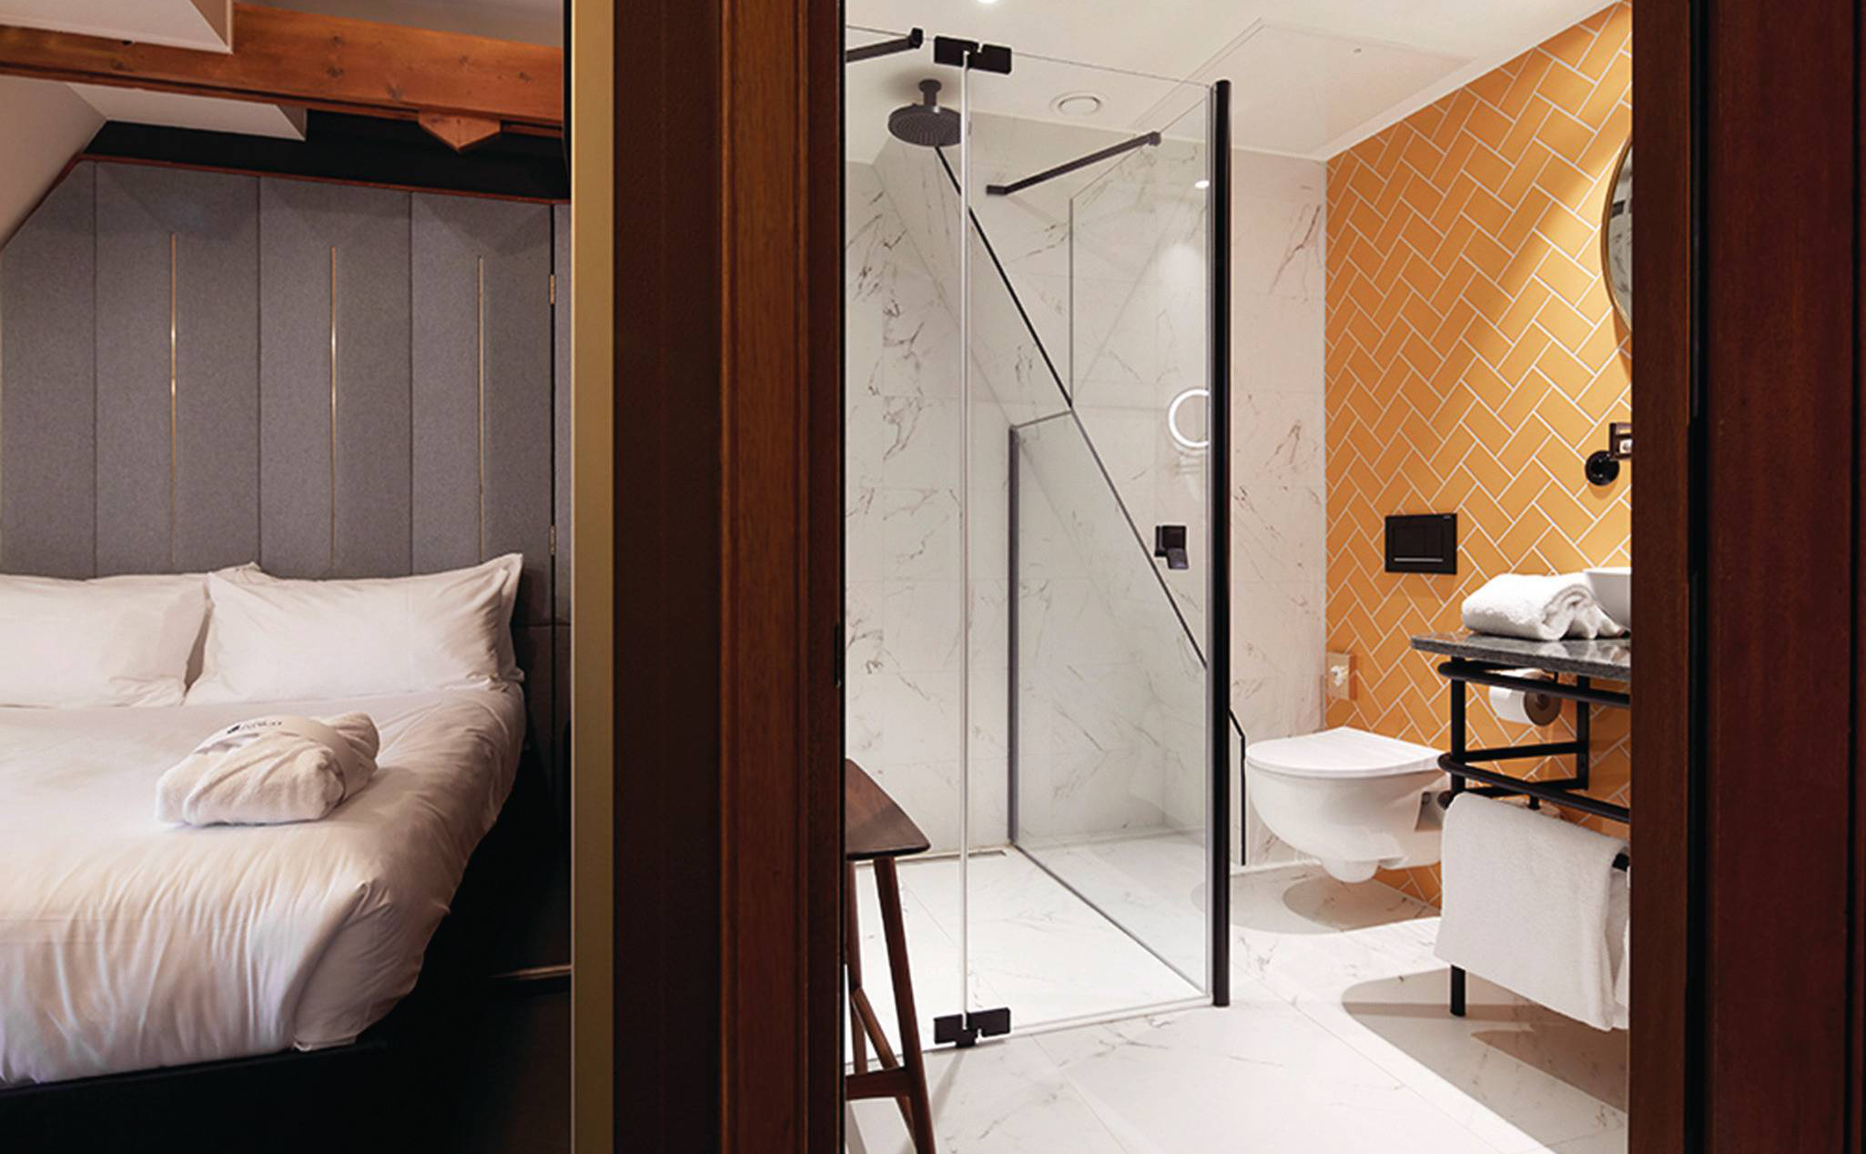


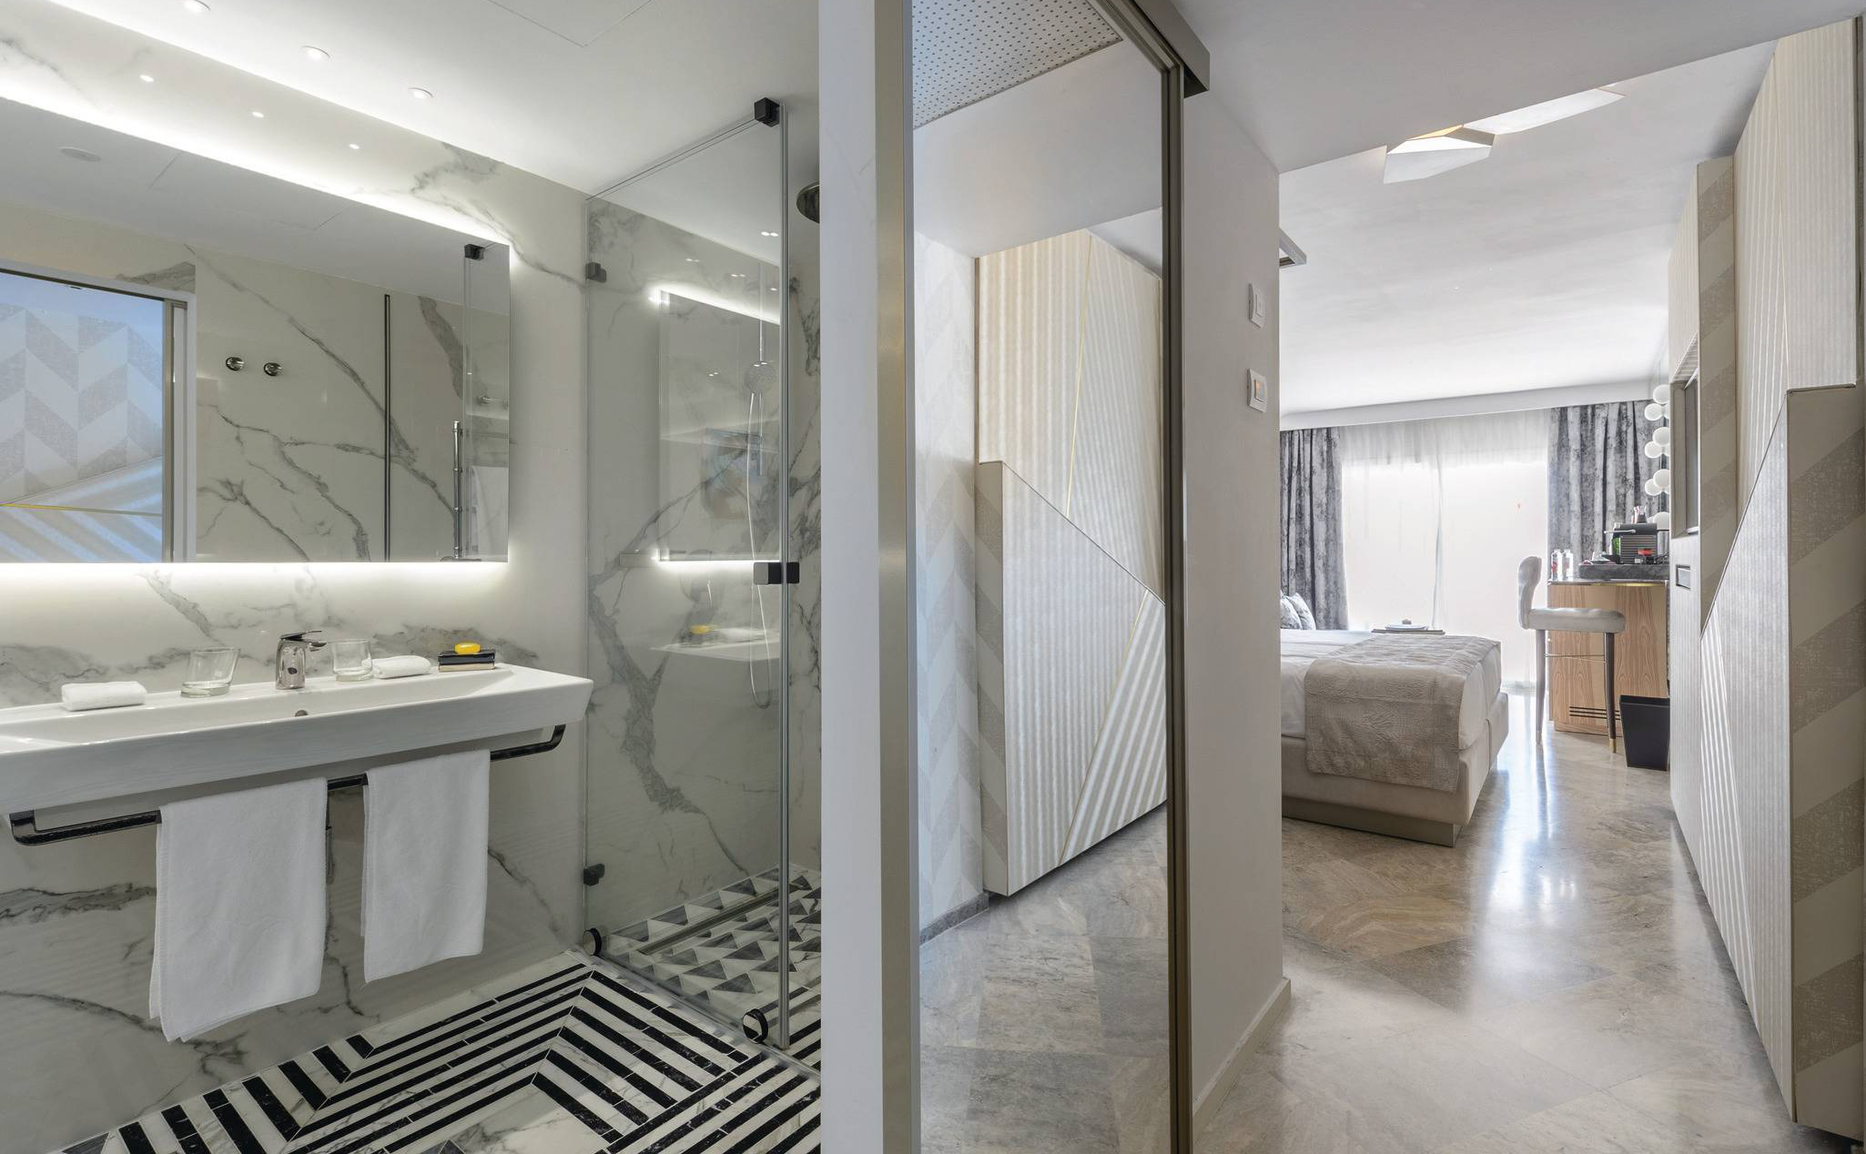

Why HÜPPE?
Because we have been setting standards in the industry since 1966. And our customers add accents to their bathroom. Together with award-winning design studios, we live up to the seal of quality ‘Made in Germany’. Our products impress with sophisticated design, high-quality materials and technical innovation. Whether as an entry-level model or an exclusive dream shower.

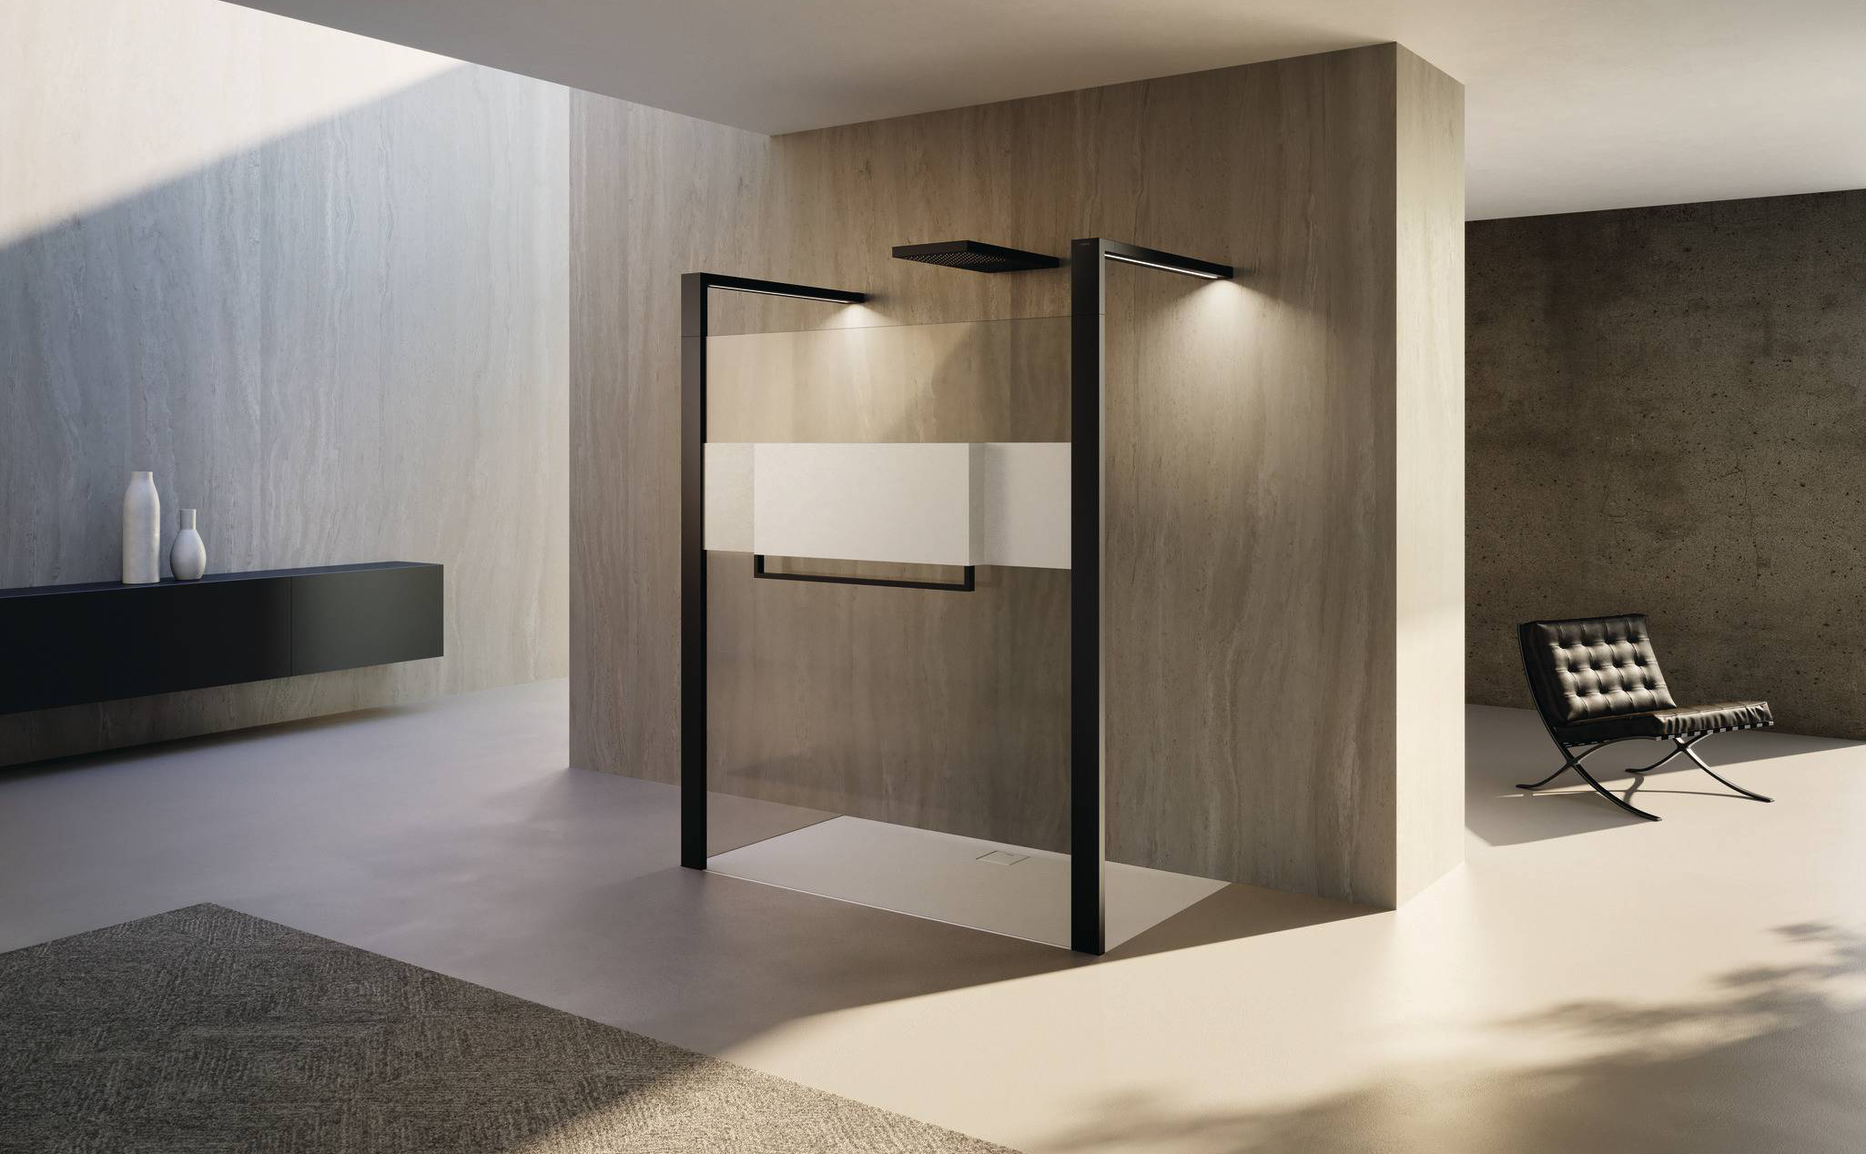
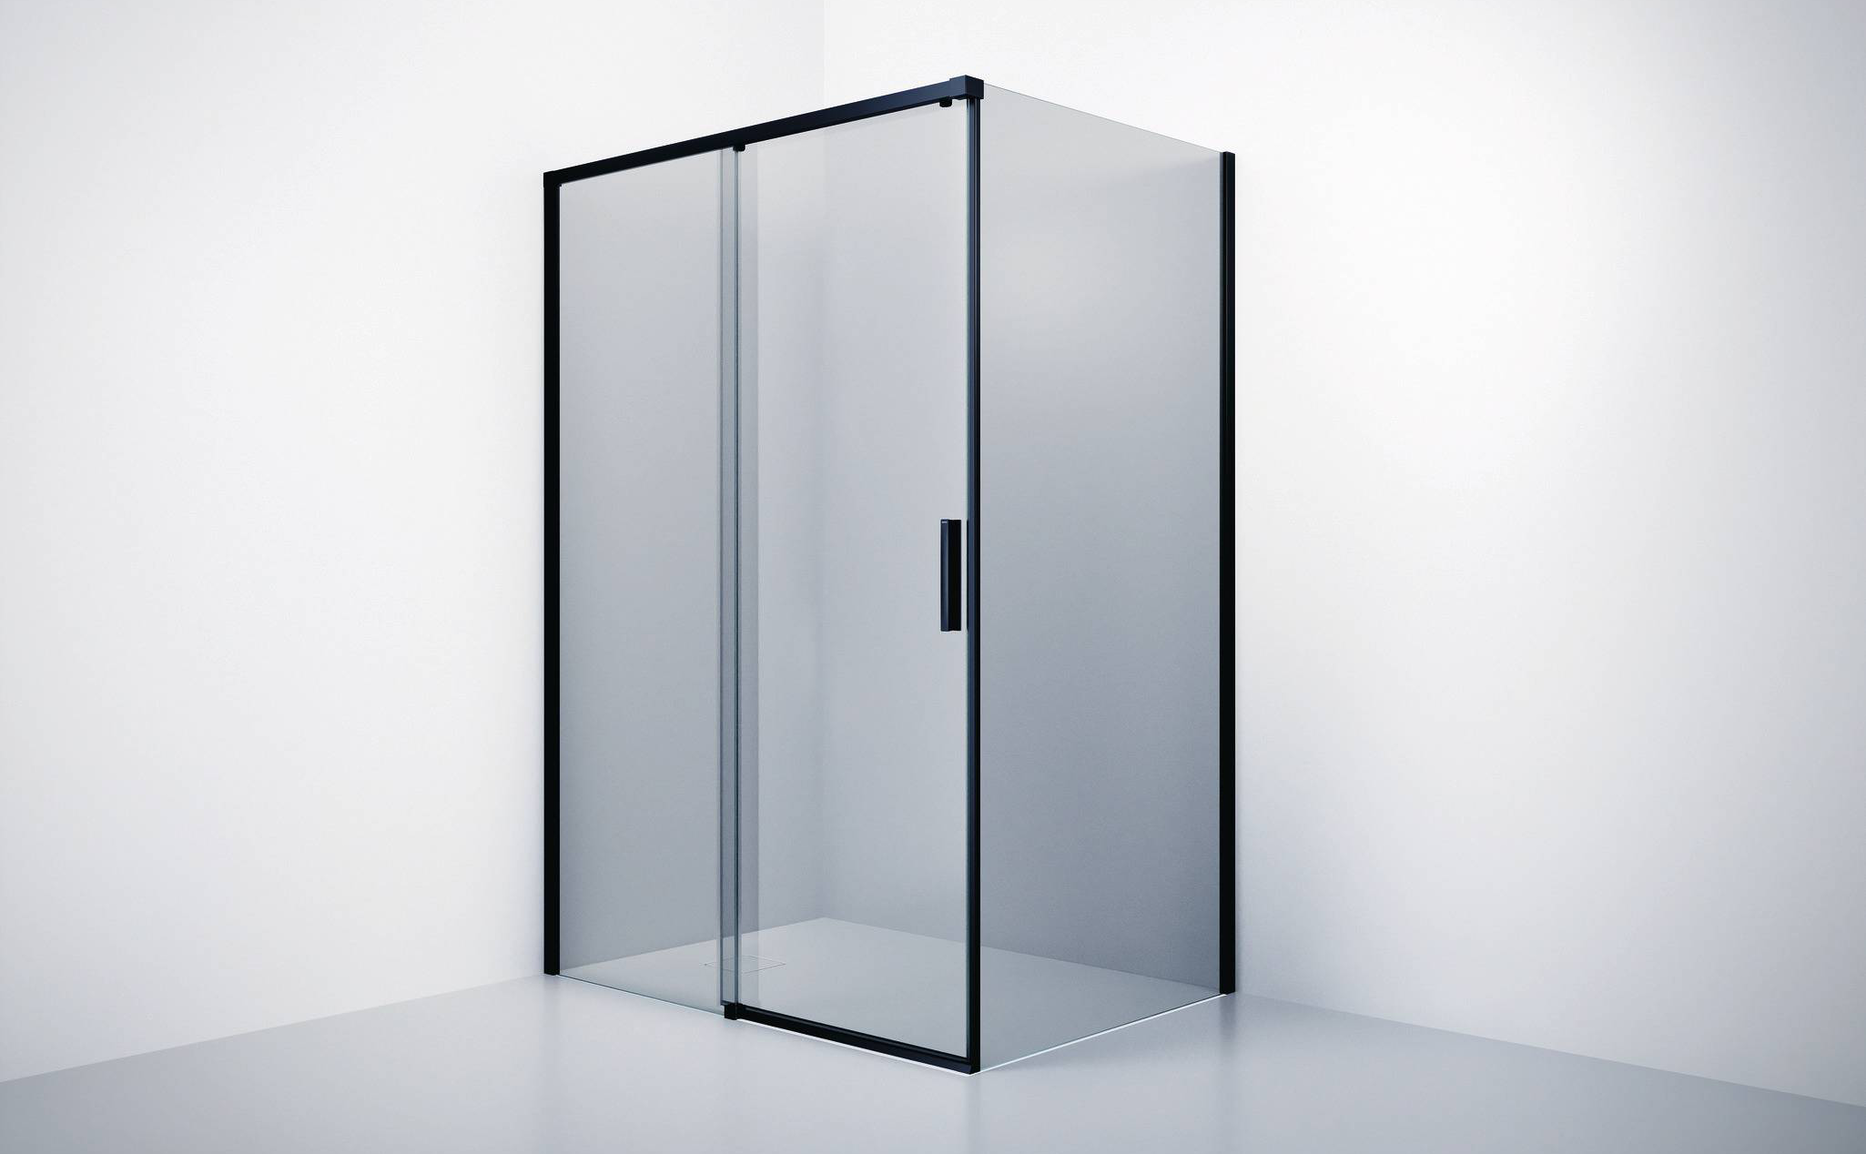
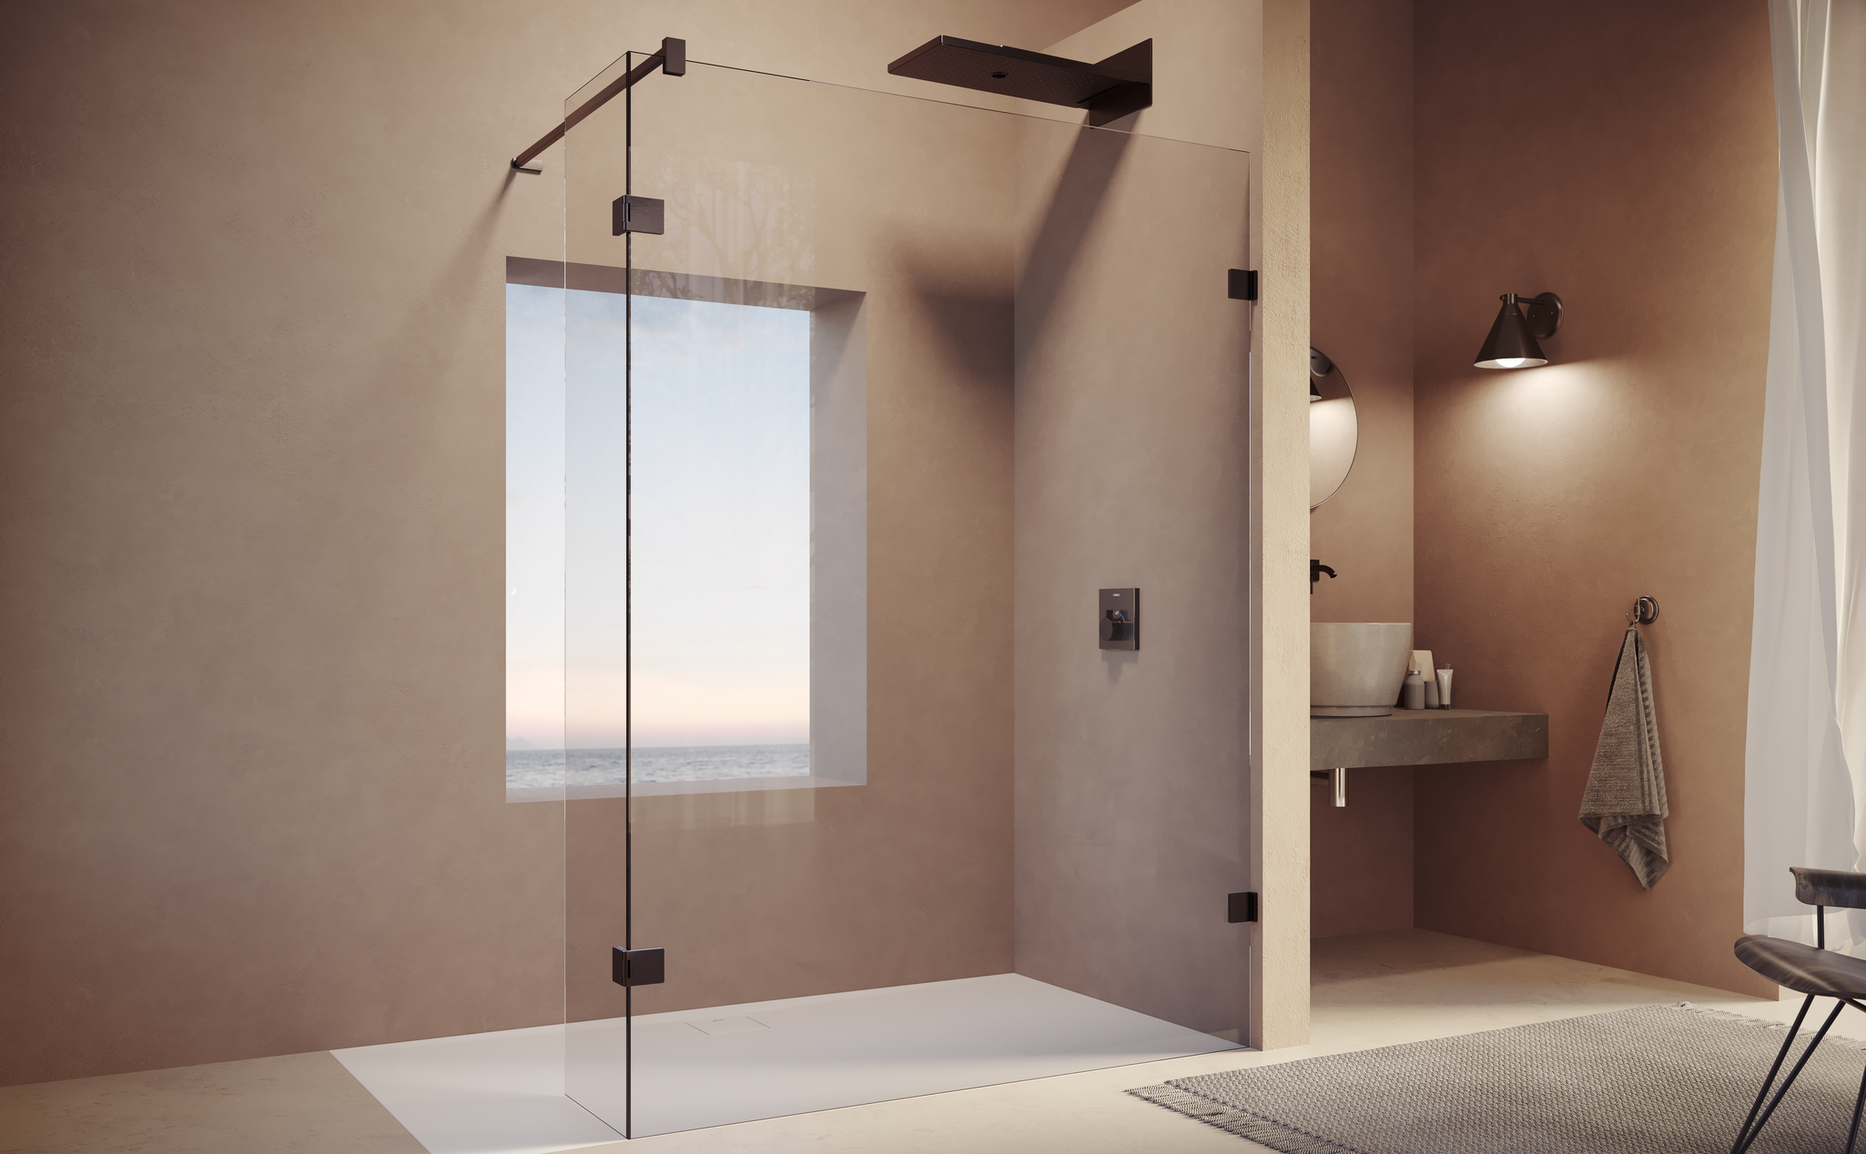
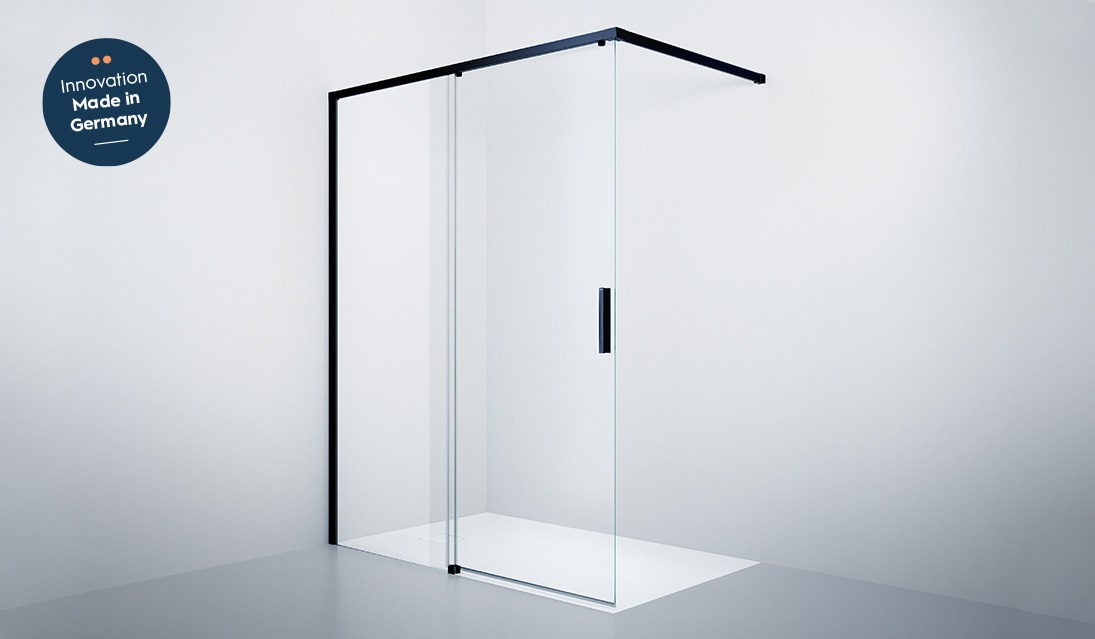
Innovative technology and high-quality materials

In-house product development and construction

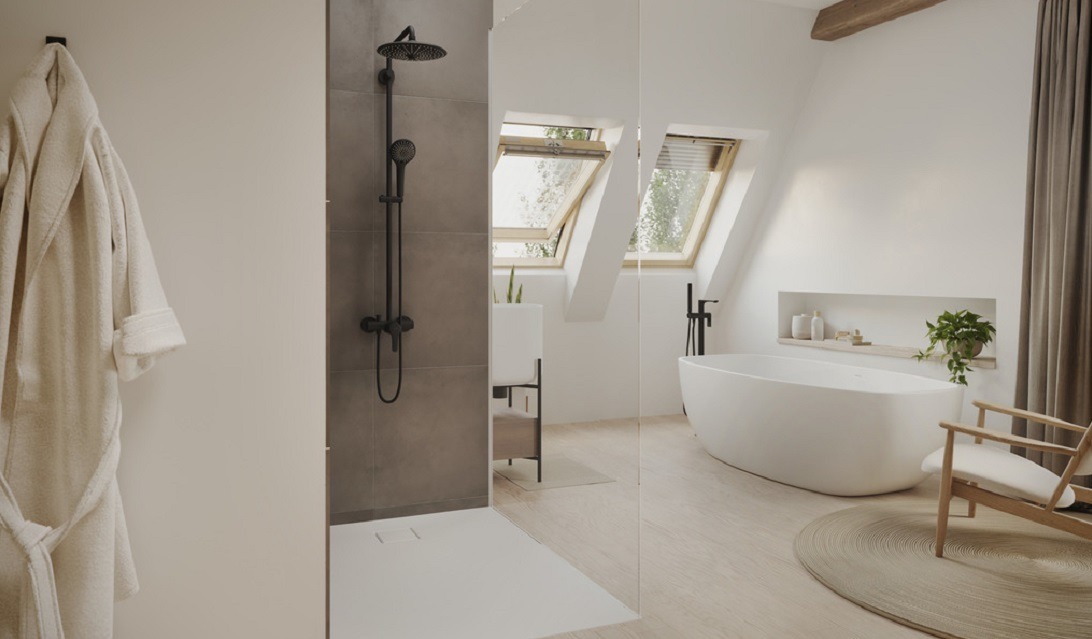
Made-to-measure for every room situation

Made in Germany with a ten-year repurchase guarantee

Comfort begins with service
With us, your comfort begins long before installation. We support you from the planning of your bathroom to the procurement of suitable spare parts. Because that’s also what HÜPPE stands for: Sustainability and the best service.